Coffee snobbery is easier than you think.
This entire guide is basically brought to you by the fine folks at Sweet Maria’s, because they have a monopoly on teaching people how to cheaply roast their own coffee from home. You can check out their instructions for home roasting here.
Also, you’ll be happy to know there’s a new episode of The Unpacked Podcast all about “Brewing Better Coffee” released today.
Without further ado, here’s how you can get neck-deep in the fresh-coffee-roasting-at-home game.
1. Order a hot air popcorn popper.
We snagged the West Bend Air Crazy on Amazon for just over $20. This is what you’ll use to roast your fresh coffee beans. It’s far, far cheaper than traditional roasting methods, and way better than heating beans up on the stove top or in your oven because of the way the hot air roasts the beans.

The West Bend Air Crazy, with a net to catch chaff.
2. Order a coffee sampler from Sweet Maria’s.
We order the 8-pound sampler to making the $9 shipping charge worth it. They also have a 4 pound option. It’s helpful to know which locations in the world have the best tasting coffee for you. I’m partial to African coffees because they have fruity notes and a more dynamic, interesting taste as opposed to a South American coffee that tastes like most of the coffees you’ve had at your local breakfast diner.
In general, after shipping, you’ll end up paying $7 – $9 per pound, which is more than Folgers, but less than local and fancy roasters.

A bag of fresh green coffee beans from Sweet Maria’s.
3. Anxiously await the arrival of your popcorn popper and coffee.
This is the hard part.
4. Gather all your supplies.
We used to measure things out using a kitchen scale and get really precise with a timer. But honestly, when you’re roasting with a popcorn popper, it’s an ever-moving target. The heat constantly changes based on how many roasts you’ve recently done and based on the temperature of wherever you’re roasting.
Currently, we use:
- A West Bend Air Crazy popcorn popper to roast the beans
- Sieve to cool beans after roasting
- A baking sheet with raised edges to cool beans (and keep them from sliding off)
- Mason jars too store the beans (this isn’t proper or best, but it’s cheap)
- Something to collect the chaff – originally we used a wet paper towel with the popcorn popper’s plastic hood on. Then my dad offered a mesh netting that’s used for straining paint. I’m guessing you can buy it in a home improvement store, but I’ve never looked.
- A wooden spoon to mix the beans up if you can’t get them moving in the popper.
- Gloves. This is kind of ridiculous (especially when it’s hot out) but man the popper gets HOT and so do the beans (obviously) so some type of glove is helpful to be able to handle things.
5. Watch, listen, smell.
The beans will begin to turn brown. We like a medium to dark medium roast, but the darkness of the roast changes the flavors. We do ours pretty much to the same color, but Sweet Maria’s has suggestions for what roast to do for each bean. Also, here’s Sweet Maria’s guide to what color is what type of roast. Understanding what level of roast the beans are at is hard to determine. You’ll hear beans begin to crack, and most roasts should wrap up shortly (30 to 90 seconds) after the first crack and before the second crack. If it starts to smell bad, that’s normal. If it smells really bad, it’s probably time to pull the beans out.
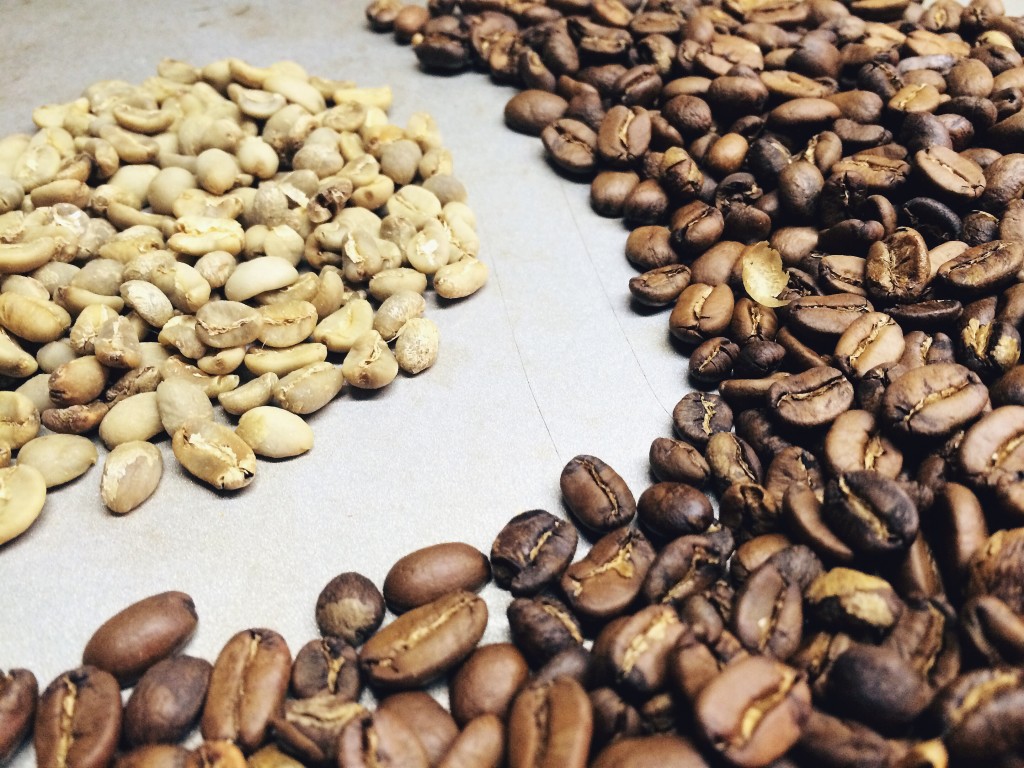
A comparison of the beans–before and after roasting
Other tips
- Precision is practically impossible. This is a hood-rat setup. That’s ok, you’re still on pace for the best cup of coffee you’ve likely ever had.
- You can shake your popper to move the beans around. The goal is to have an even roast. That can be hard. I shake the sense out of our roaster to get the beans swirling in the beginning.
- Forget how long it takes. Some beans take longer than others.
- You can put in more beans than you think. We started with only 2.5oz of beans in the popper, but now we fill the chamber ¾ of the way. It takes a little longer per batch, but overall you’re getting more roasting done this way.
- Don’t worry about screwing up. We haven’t burnt a single batch. Some coffees we didn’t care for us much, but almost all were better than your average cup of joe.
- Try a couple brew methods. A drip coffee maker is not going to do the trick. I suggest an AeroPress or a Chemex. We’ve fallen in love with the Chemex. It takes a bit longer than AeroPress, but you can make more and it’s delicious. Some coffees taste better in one method than the other. If it tastes funky, try a different way, because a bland or boring coffee in one method could be outstanding in a different method. We explore the different methods a bit in this podcast episode.
- Enjoy the process. How many hipsters roast their own coffee? Niki and I like giving away our coffee we roast as a gift with the Shark Coffee Co label.

- Drink the coffee within a few weeks. Some people say the taste peaks around 7 – 10 days. Definitely wait at least overnight to let the CO2 escape (be sure to leave the lid on a mason jar cracked to let the air escape) and feel free to brew the next morning.
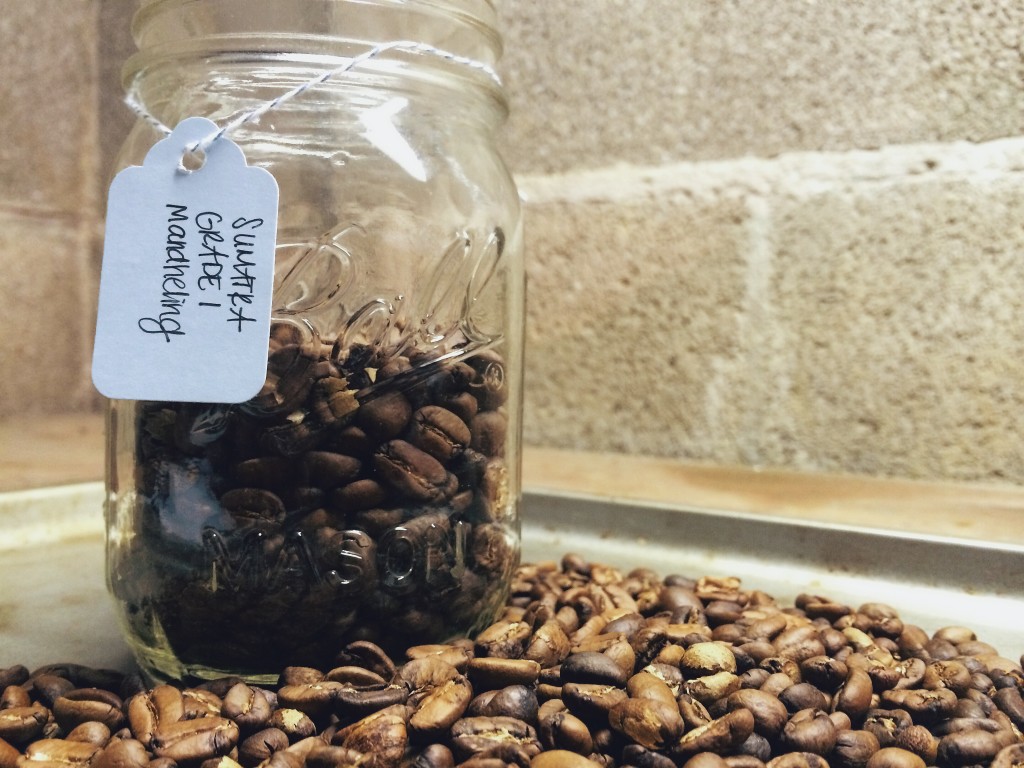
The finished product.
Basically, with a $20 popcorn popper, $30 – $50 worth of beans, a $20 – $40 brewing apparatus and some tools you probably have around your house, you can make the most amazing cup of you’ve ever had, and much cheaper than going out for coffee every morning.