I’ve always enjoyed photography, but I’ve never considered myself a photographer. I can’t pull off toting around a massive DSLR and snapping pictures of people without feeling creepy.
We recently picked up a camera to document the forthcoming life of our in-utero baby, and it was time for me to learn the basics so I could actually use this thing. Here’s to moving beyond the automatic modes into the deep end of higher-quality photography.
As I begin, I should note that I feel as qualified to write about these things as Leonard DiCaprio was to assume the role of a doctor in Catch Me If You Can–I’m not sure I can do much other than say, “I concur,” with what I’ve read in other places. I’m going to distill what I’ve picked up and try to make it clearer without being wrong.
This won’t be a perfect or fancy description, and it may not even be technically how it works, but I wanted to create a way to explain to normal humans what the different settings do on a camera. Let’s get to work.
The Three Settings You Need to Learn – ISO, Aperture (f/stop), Shutter Speed
Aperture / f-stop
Aperture is a fancy word for how much light the lens lets in. This is measured in something fancy called an f-stop, which normally looks like this: f/2.2. The smaller the number, the more light that is let in. You can think of it like the lens starting out as open as possible, then as you move on to higher numbers the lens allows less and less light in, until it shrinks down to the size of a pin hole.
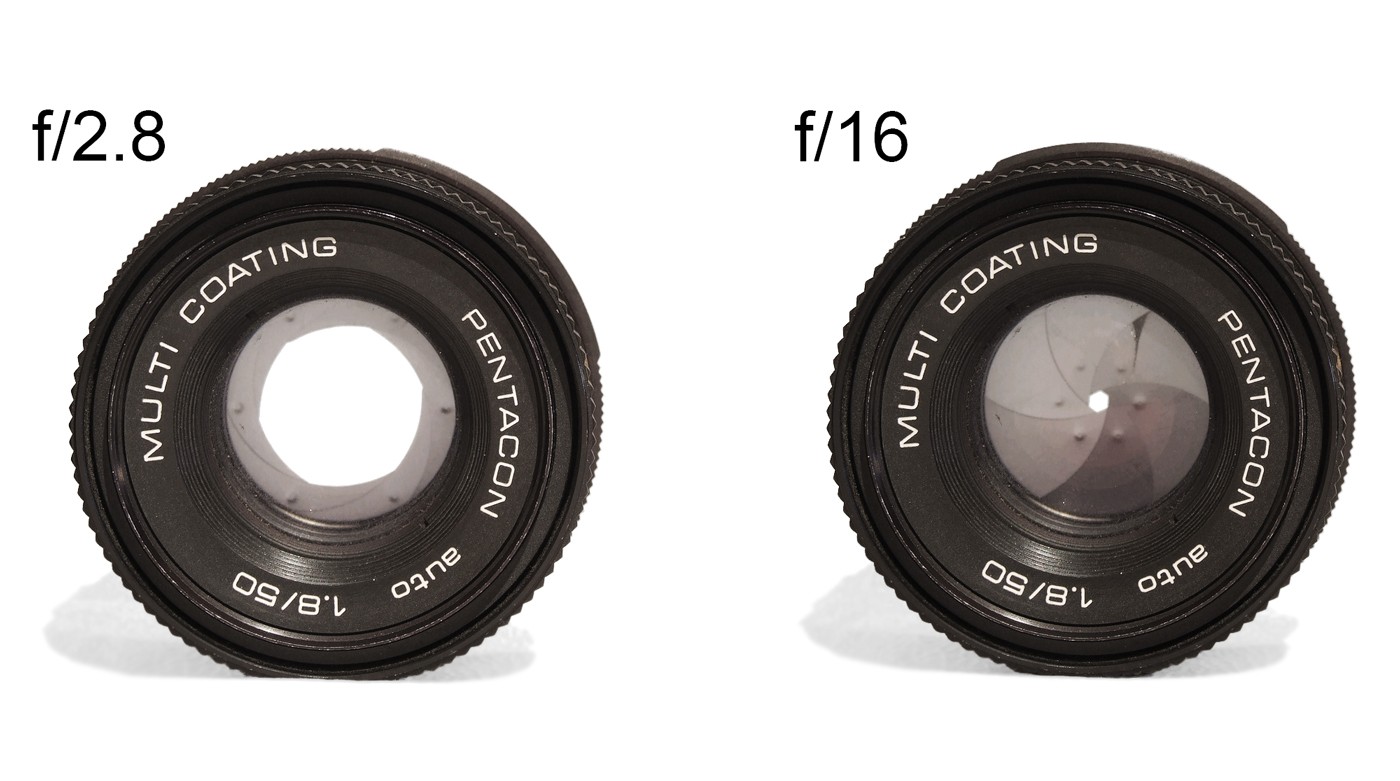
Notice that the lower f-stop has a more open aperture, while the higher f-stop (f/16) has a much more closed aperture. Photo courtesy of Mohylek
Practically, this means that if you have low light, you should use an f-stop with a lower number. A lower f-stop also means things close to you (the foreground) will be in focus while things in the background will be out of focus, giving you that sweet blurred effect that makes things up front pop.
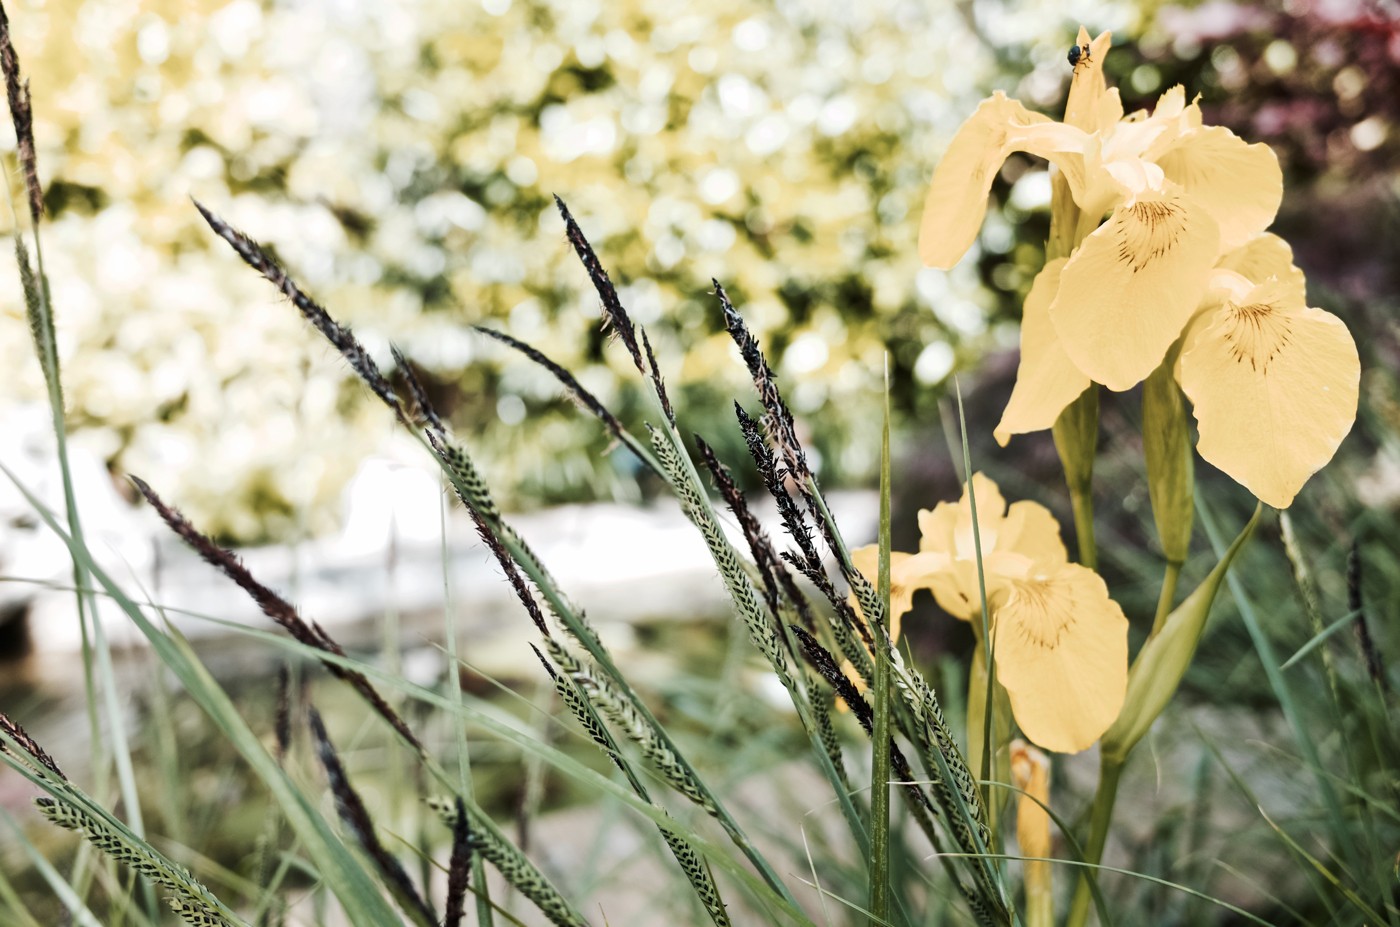
Here’s a photo with a low aperture (f/2.8) and a focused foreground (up-close) very blurry background. This photo has a shallow depth of field.
In slightly fancier terms, f-stop/ aperture also determines depth of field. Depth of field is another way of saying, “How far away are things in focus?” A shallow depth of field means only things close up are in focus, a greater depth of field means things further away are also in focus.
I’m sure there is an awesome, science answer for why this happens, but I’m happy to know:
Low f-stop (~f/1 – f/3) = lots of light and good portraits with blurry backgrounds
Lower f-stop is better for portraits, because the background is blurred (as long as you’re focusing on something up-close), but you need to make sure you have enough light or the photo will turn out too dark.
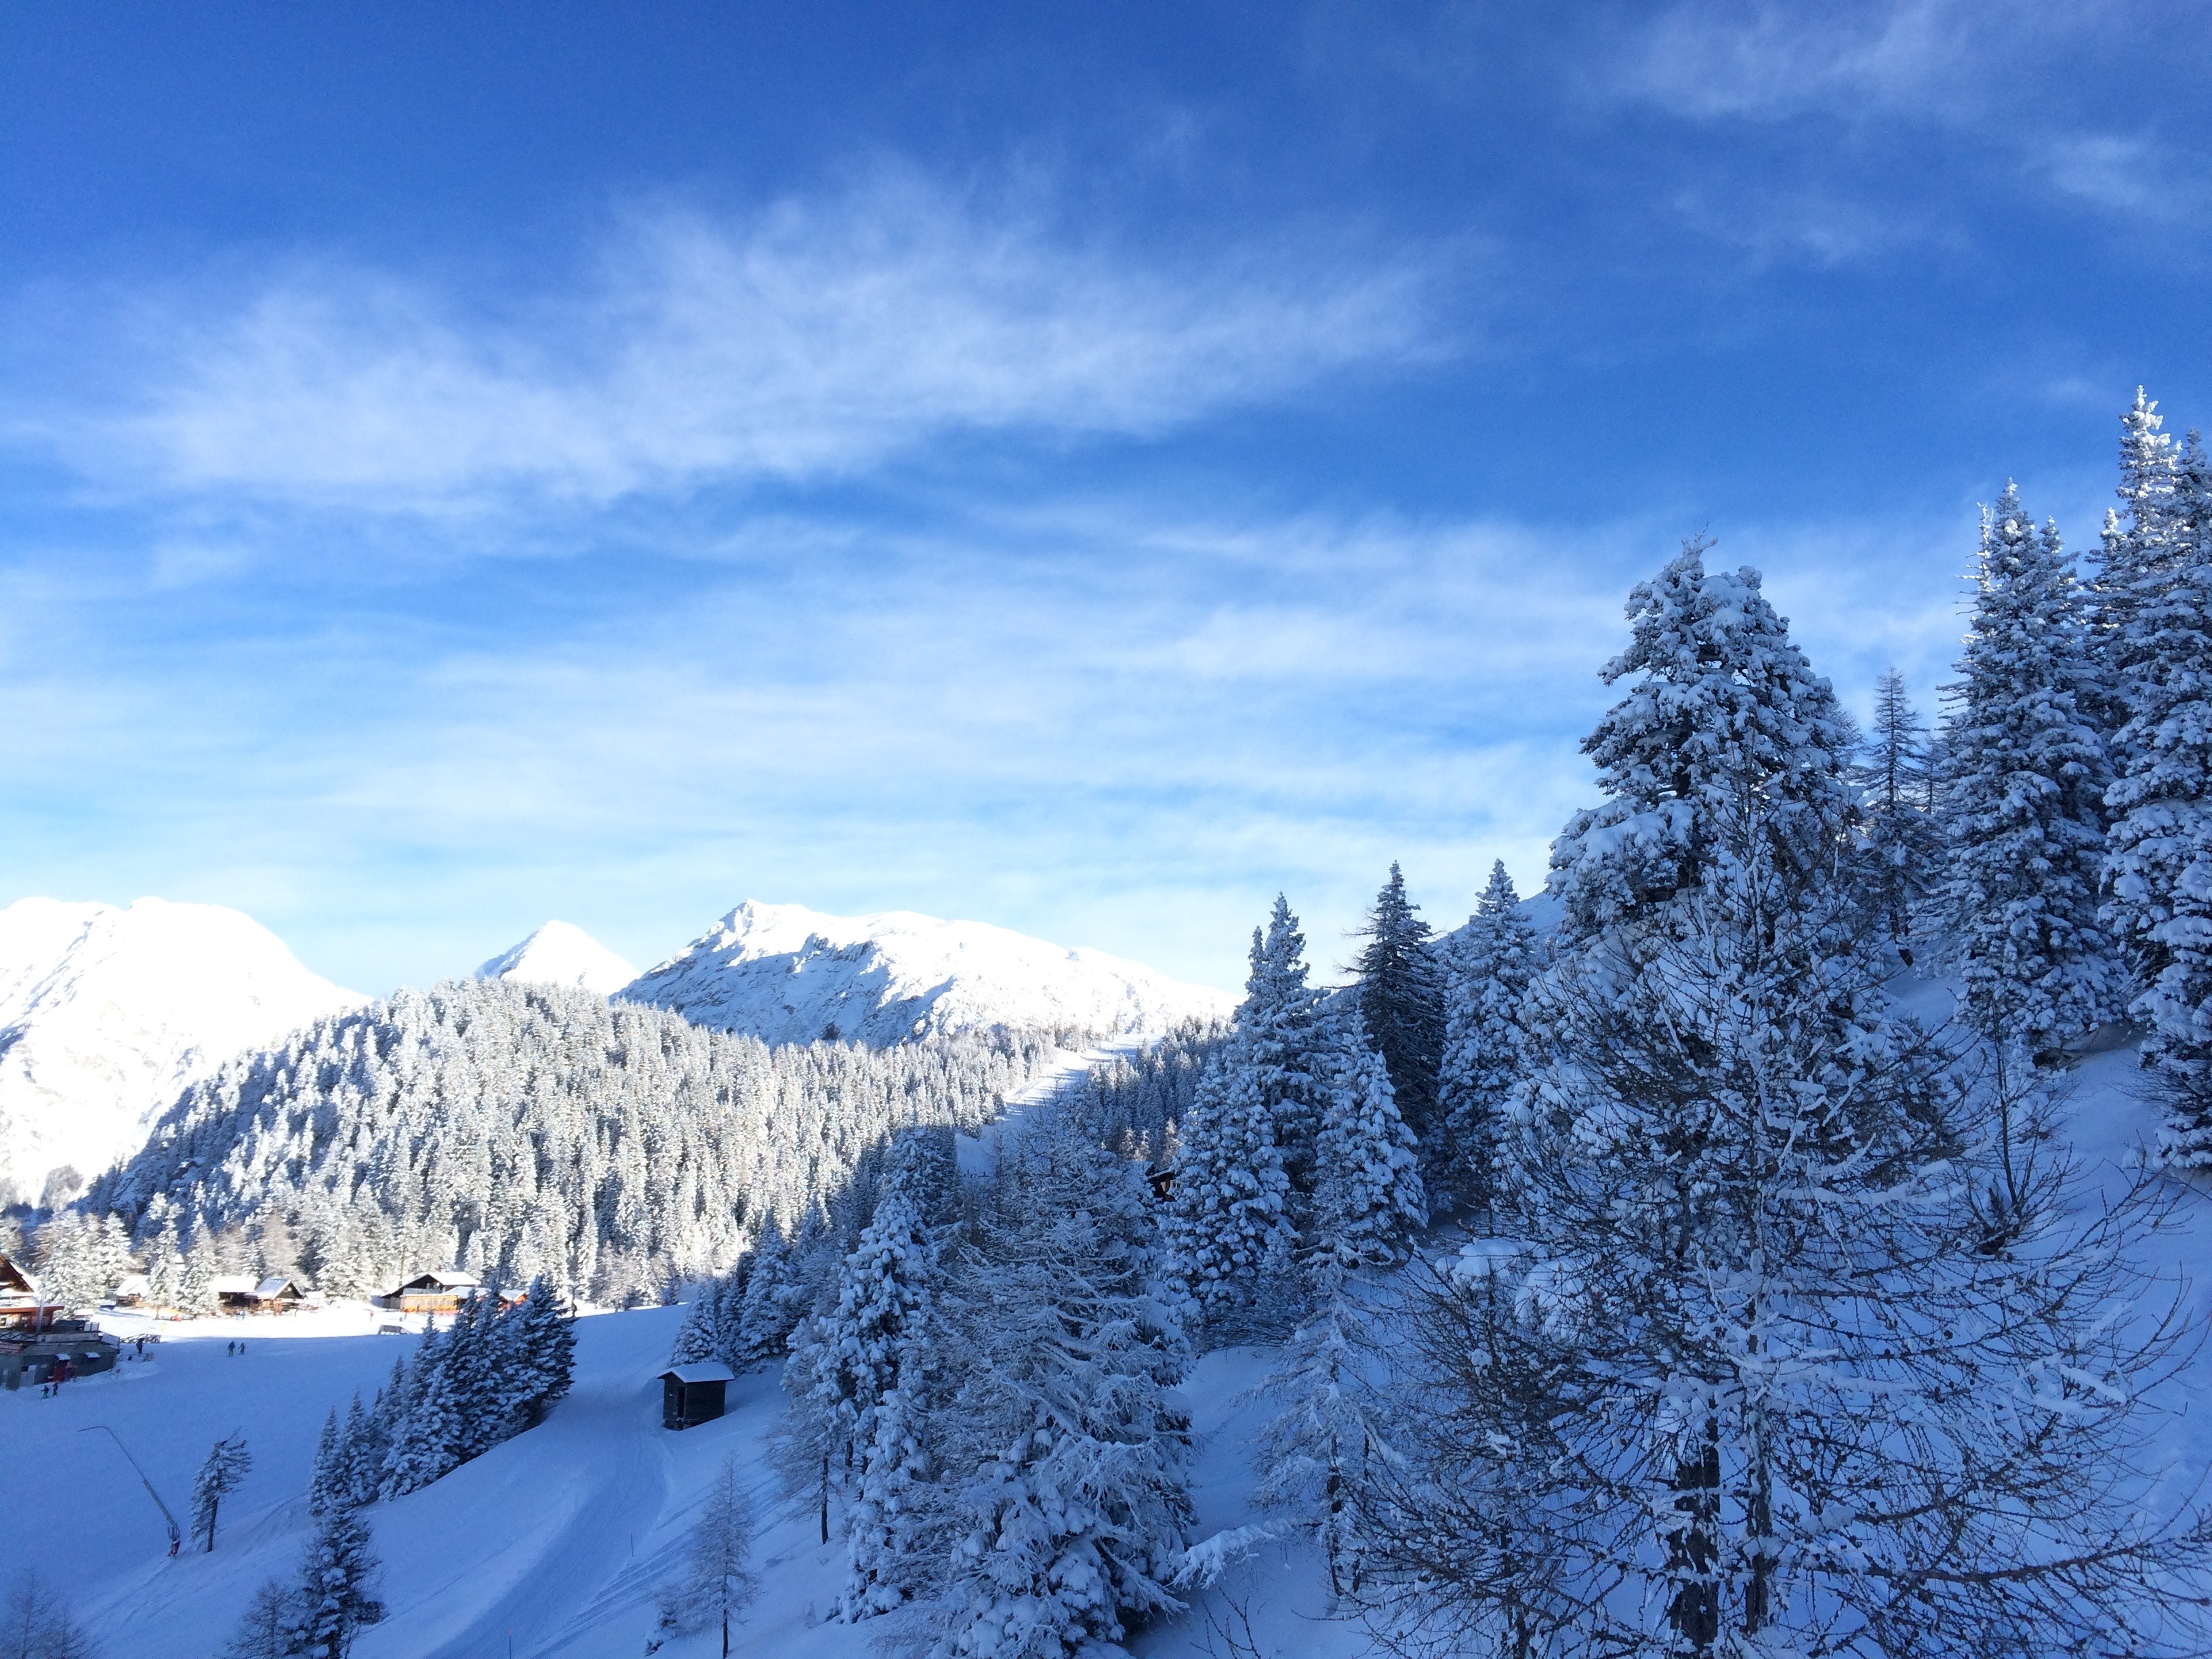
This photo has a greater depth of field, so things further away are more in focus.
A higher f-stop is better for landscape shots so you can get everything you’re shooting at in sharp focus.
Shutter Speed
This is probably the easiest concept to understand, because the numbers can be easily explained in plain English.[footnote]Maybe the others can be as well, but I just don’t understand them yet.[/footnote] Shutter speed is measured in seconds or fractions of a second. So, 1/500 means that the lens opens and shuts [footnote]Technically, on digital cameras, it shuts opens and shuts again, but, well, that doesn’t really matter to us beginners.[/footnote] in one-five-hundreth of a second. You can move from very quickly, say 1/4000, to something really long like multiple seconds or even minute-long shutter speeds.
Fast shutter speeds–1 / a big number–means things will be caught in the action. If you took a picture of a fan that was spinning quickly, and you couldn’t make out the single blades by your eye, a camera at 1/500 could catch the individual blades. Fast shutter speed is great for sports photos or moving kids.
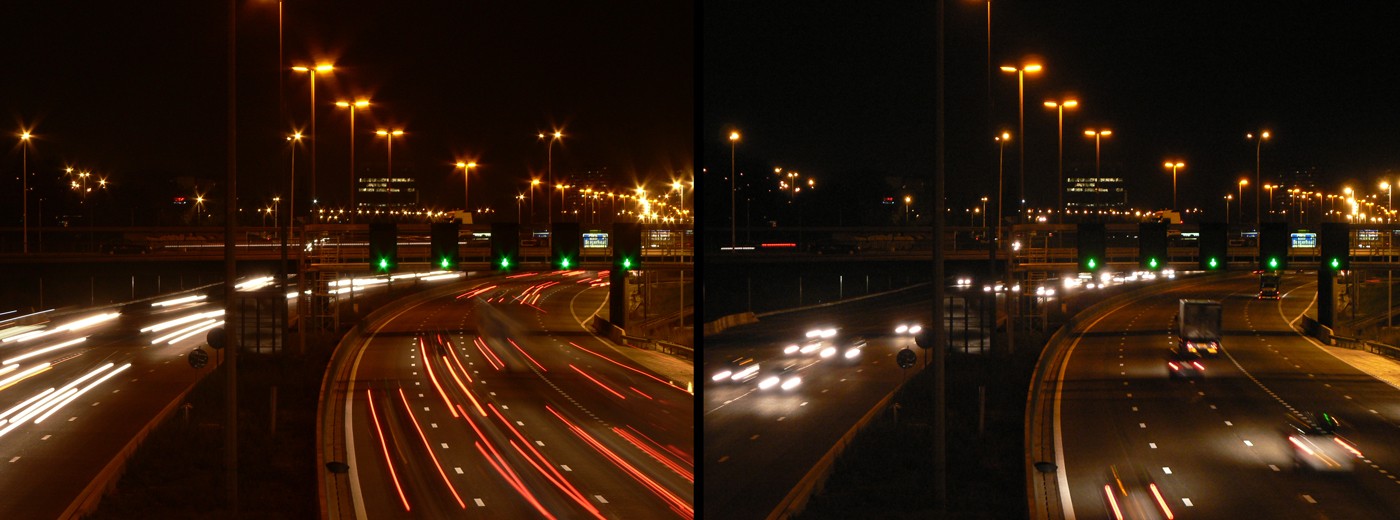
The photo on the left shows what it looks like to use a slow shutter speed (1 second+). The photo on the right uses a faster shutter speed (but not fast enough to have the cars completely focused.
However, if you have a fast shutter speed, you need to make sure you have plenty of light, or a higher ISO number and/or a low f-stop number (around f/2). That’s because the shutter doesn’t have much time to take in light. If the aperture is more closed (a higher f-stop) then all the light that your camera is getting needs to come through a small opening in your camera in 1/500 of a second.
If you have a slow shutter speed (anything slower than 1/50 and then up into the seconds) you probably need to have the camera on a tripod or surface where a human isn’t holding it. Otherwise, everything will be blurry because the camera is trying to take a picture of exactly what it sees over the entire period while the lens is open. A tripod is sturdier than the most still human 100% of the time.
A few more examples with shutter speed: if you want to make rivers and waterfalls look like they are rushing, use a slower shutter speed (making sure you have a tripod). This rushed water effect happens because everything else in the photo is still, but the water is moving, and because the camera has a multi-second shutter speed, it makes the water look like it’s moving, even in a still photo.
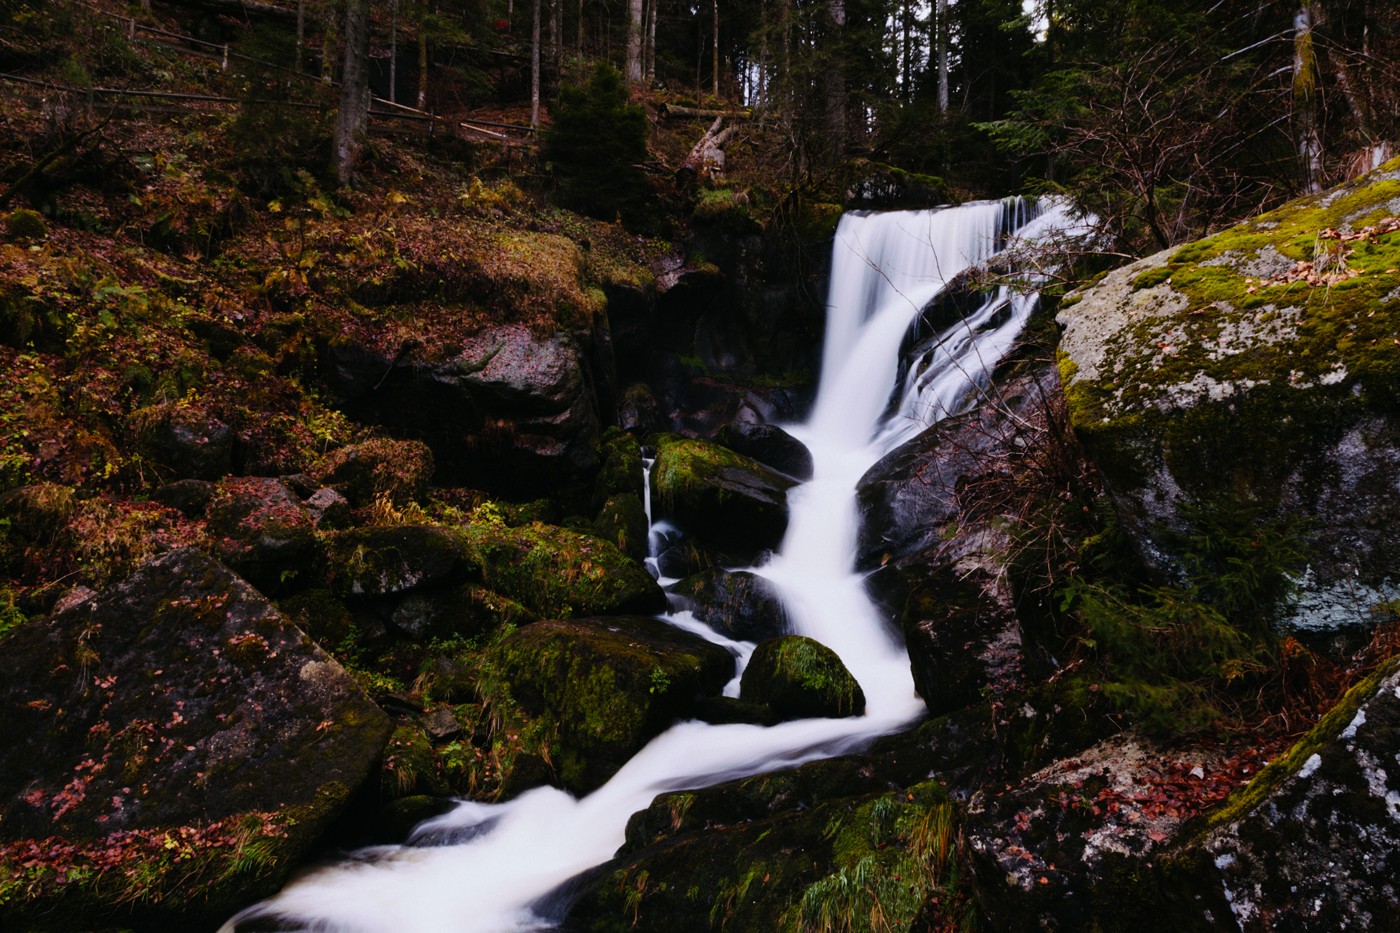
This photo shows a waterfall using a slow shutter speed for the rushing water effect.
If you want to see the water from a water balloon suspended in midair just after it was popped, use a fast shutter speed to get the droplets frozen as the fall.
ISO
A group called the International Standards Organization create, wait for it, international standards for film photography. Before digital cameras, film had different ratings according to how much light the shots were likely to be exposed to. If memory serves, ISO 400 and 800 were common for the classic point and shoots of the 90s.
Basically, the ISO setting just tells the camera how sensitive to be to light. That means ISO can be a helpful factor in making sure you can actually see what you’re taking a picture of based on the light you’re working with.
The lowest ISO number (100 on our camera) is best when you have plenty of light, like direct sunlight outdoors. The ISO number then doubles as you move up–100, 200, 400, 800, 1600, 3200, and so on. The higher the number, the more the camera will compensate for a lack of light.
If you’re indoors, you’ll want to move the ISO number higher so that the photos aren’t too dark. Ideally, you’ll always have it on the lowest ISO possible for your situation. ISO and image quality or graininess are inversely correlated–as the ISO goes up, the image quality goes down.
ISO is probably the least important setting because it doesn’t change how your picture will turn out, other than if it is light or dark enough. You can add light when editing a photo as well, which is beyond what the goal of this post is. ISO is more of a “set it and forget it” for the situation you’re in, and then you’ll tweak the other two settings more frequently.
Other Helpful Tips
It’s easier to edit a photo that is a bit too dark than one that is too light. It’s easier to add light than it is to take it away.
Don’t always center things in your photos. There’s a thing called “rule of thirds” which basically means, don’t center things in your photos.
It’s easier to crop a photo to take something out. It’s impossible to uncrop it and add someone in[footnote]That is, if Photoshop is not in play. [/footnote]
Fancy cameras that have big lenses that zoom don’t take the best pictures, because lenses can’t be adjusted perfectly to take the same quality of pictures at each range. So, a lens that doesn’t zoom at all (or doesn’t zoom much) will probably take better pictures than ones that do.
There are lots of settings on cameras to prioritize different settings over others. Sometimes T priority is used which stands for “Time priority” or shutter speed. A priority is aperture priority, which is the light let in, measured by the f-stop.
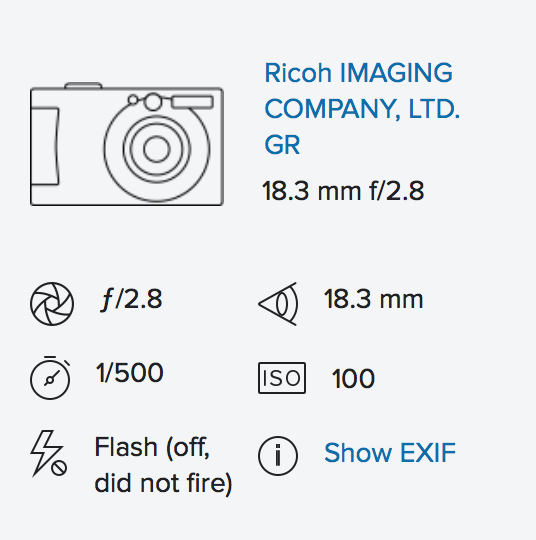
Try browsing Flickr.com to see other photographers’ photos for inspiration, but also to check their settings. When you scroll down, you’ll see the settings in the bottom right corner, so you can get a feel for how different settings change pictures.
You’ll always be able to take better pictures using manual settings instead of automatic, because the camera doesn’t know what your goal of the photo is. If you never move beyond automatic settings, you’ll never be pleased with your fancy camera.