The AeroPress was my first love when it came to moving beyond the automatic drip coffee maker. It’s still my favorite way to make coffee when I’m traveling.
But there’s a new brew method in my life, and we’ve been going steady for nearly two years.
Meet the Chemex.
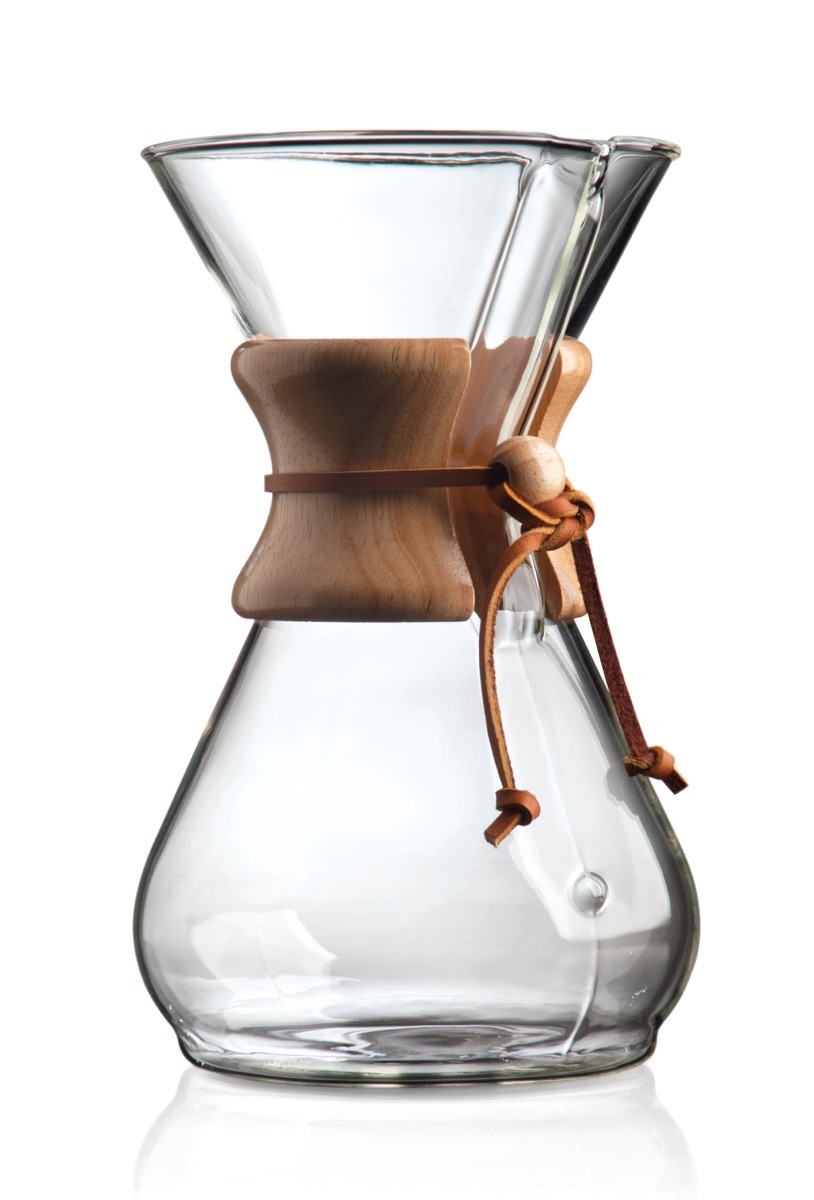
If we were judging brewers by their covers, there’s no doubt the Chemex could win a beauty contest.
But beyond that pretty hour-glass figure is a simple way to brew the cleanest, most delicious coffee you’ve (likely) every had at home.
The Chemex is just a fancy pour over (meaning you physically pour water onto the grounds which are in a filter). What makes the Chemex special is its filters. These unique, thicker filters remove any bitterness from the coffee.
If you’re ready to dive into amazing coffee, you might get held up wondering how to use this thing. Here are my Chemex instructions for how to brew and what equipment you need.
How much coffee do I use?
The magic formula for us is using 15 grams of water for every 1 gram of coffee beans / grounds. That’ll give you nice-tasting, not-too-bold, not-too-watery coffee. We have an 8-cup Chemex (with the wood collar, naturally) and we normally brew 50 grams of coffee (750 grams of water) which produces 3 mugs full of coffee (2 for me and 1 for my more caffeine-sensitive wife).
What temperature of water?
Start with 195° Fahrenheit for my American friends or 90.5° Celsius for the rest of the galaxy.
Depending on the surface you put your kettle on, the temperature will start dropping rapidly. You can keep the kettle on a burner to keep it warm, or just pour quickly (but not too quickly, noted below).
How Should I Put in the Filter?
I’m glad you asked.
You should wet the filter (I just swish it under running water) and center the side of the filter with 3-folds directly over the lip where the coffee pours out.
Lots of people complain that the Chemex hiccups (and I did too!) until some genius on the Internet mentioned that if you put the 3-sided part of the filter over the pour spout it leaves a gap for air to release. Surely this was done by design, so that pour spout is also an air escape.
How much water should I add at a time?
With the first pour, if you’re using freshly roasted, freshly ground coffee, the coffee should bloom (i.e. puff up). I normally start with 150 grams, and once the bloom collapses a bit and the water has mostly dripped through, I add 150–200 grams of water at a time.
If you add a bunch of water all at once (say 400+ grams), your coffee will probably taste murky, like you just found it in a closet of your grandma’s mothball-ridden clothes. I’ve done that on more than one occasion and basically cried the rest of the day.
Don’t get too zealous with your pouring. It’ll ruin everything.
How long does it take and in what order should I do everything?
The entire process, with heating your water (mega fan of the electric kettle, which makes things much quicker), grinding coffee, and adding water should take about 15 minutes. The process is mostly dependent on how quickly the water heats up and how much coffee you’re brewing.
I do things in this order:
- Heat the water in (electric) kettle
- Measure whole beans on a scale
- Grind the beans coarsely
- Wet the filter and put in Chemex
- Add coarse coffee to Chemex
- Check temperature of water and begin adding when it hits 195°
- Add water 150 – 200 grams at a time
- Drink like a champion
What grind of bean should I use?
Medium-coarseness is ideal.
If it’s too fine, your coffee will turn to mud in the filter and get clogged and taste awful.
If you use coffee that is too coarse, the water will drip through too quickly and the coffee won’t have much taste.
Adjust accordingly.
What equipment do I need?
These five items are listed in order of importance. Picking them all up will set you back around $215, which is no tiny investment.
I suggest getting started with the Chemex and filters along with a kitchen scale, so that you can accurately brew. That combination will set you back $90, assuming you already have a way to heat water via a standard tea kettle or electric kettle, and you’ll have to grind the beans at the store or shop you purchase them in.
Chemex and Filters
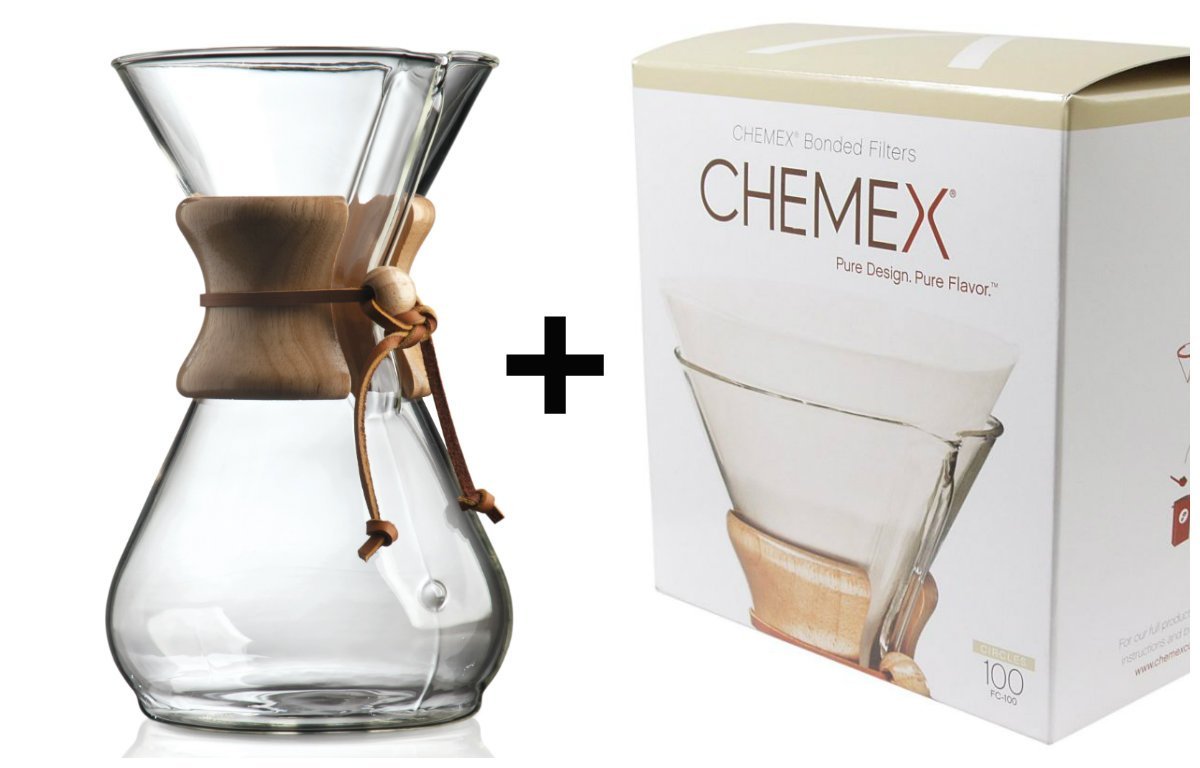
Surprisingly, if you want to use a Chemex, you need to have one in your possession.
For $70 you can snag the classic 8-cup Chemex (for the thirsty / party people out there) and a pack of 100 filters.
It’s way cheaper to buy filters at a local hipster coffee joint (normally around $10 / box of 100) or World Market (shocking, right?). Amazon, for some reason, rarely has fair prices for filters.
If we’re getting particular, I like the square unbleached filters because they look cooler and are easier to grab and chuck in the trash when you’re done brewing.
Chemex Bundle: 8-cup Classic Glass Coffeemaker and 100 Circle Filters for $69 at Amazon
Chemex 8-cup Coffeemaker for $60 at Amazon
100 Square Non-Bleached Filters for $18 at Amazon
Kitchen Scale
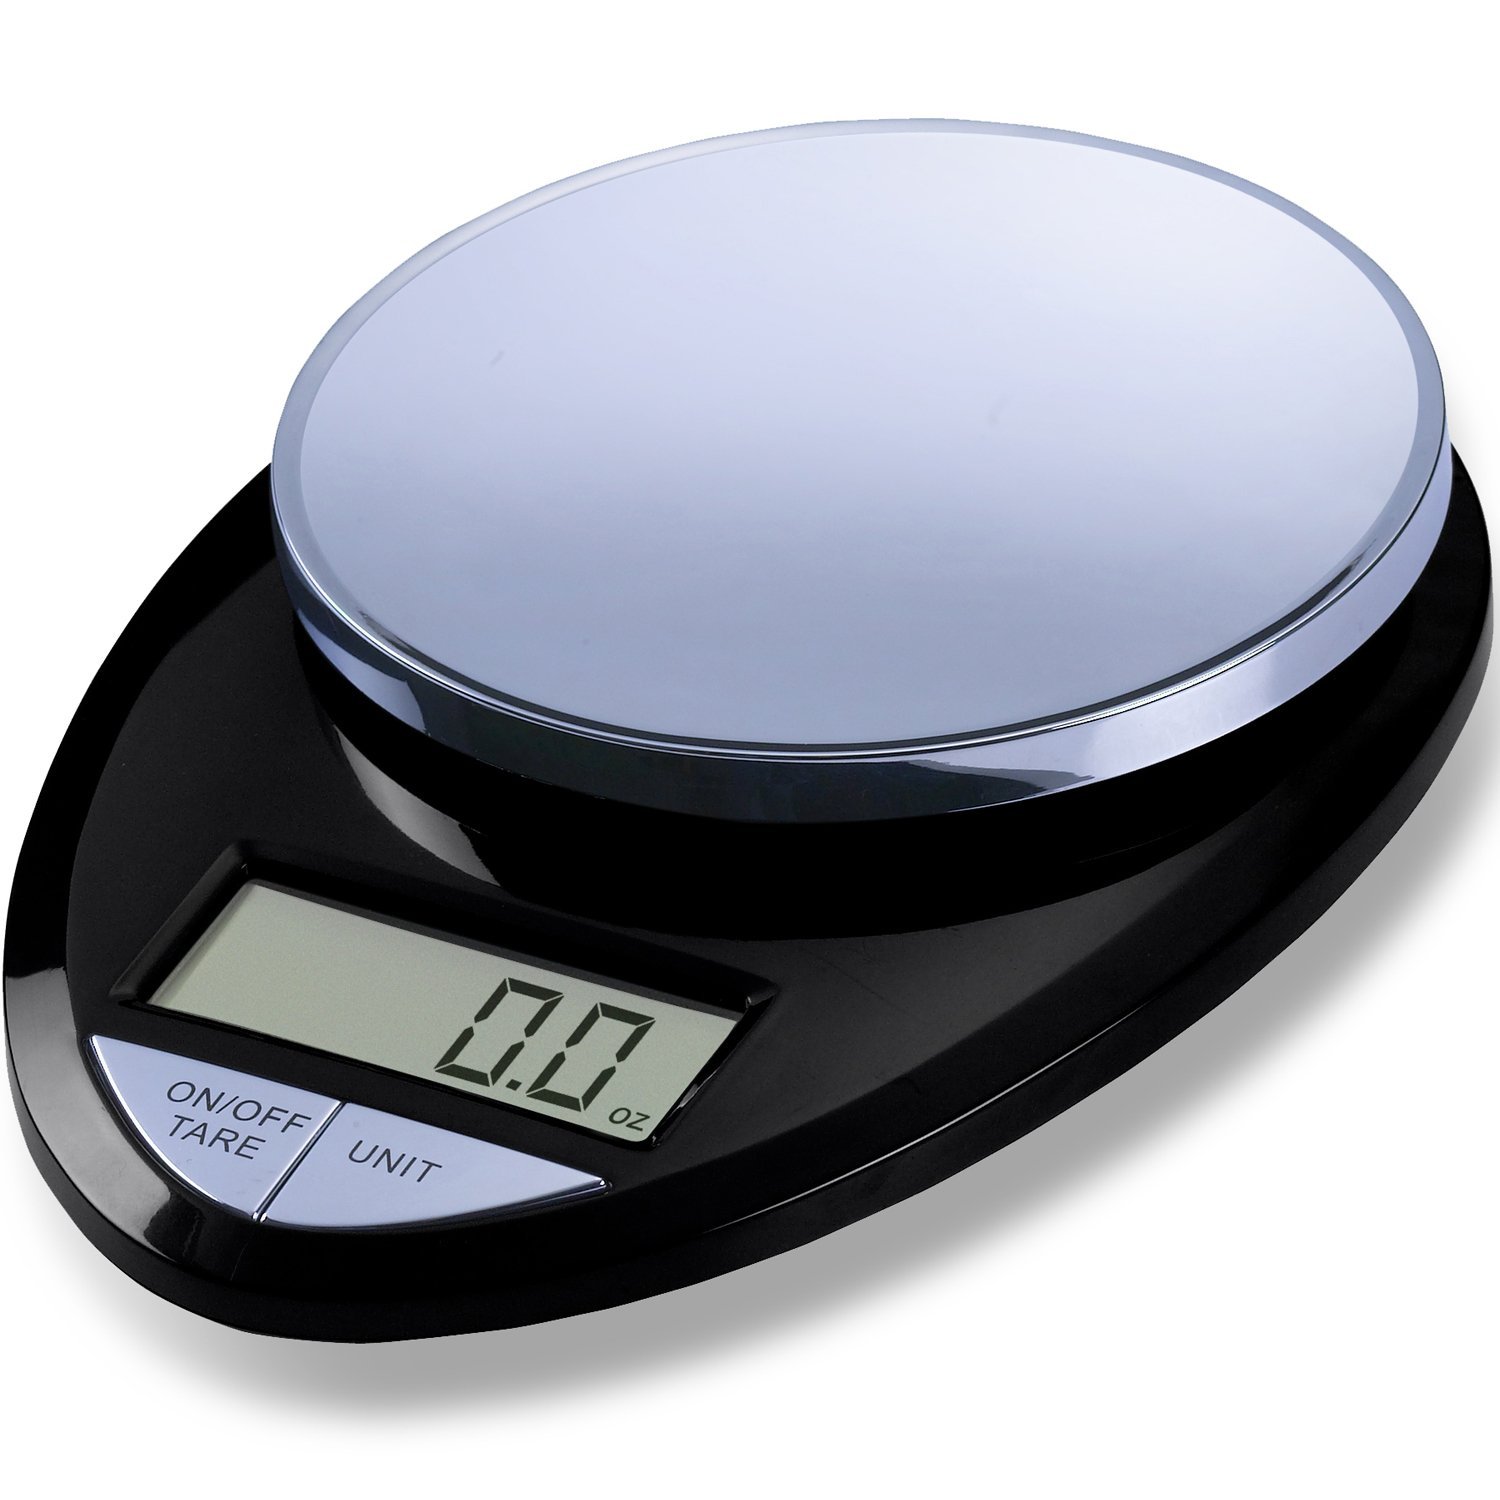
To start, hands down, you 100% should buy a cheap kitchen scale. It will take your coffee game to the next level overnight.
Any scale with a decently wide base will do–just make sure the Chemex can rest safely on it. I also prefer a scale that measures in grams, but hey, whatever mass-measuring system that floats your boat will do. The 8-cup Chemex fits perfectly on the EatSmart Precision Pro Digital Kitchen Scale.
EatSmart Precision Pro Digital Kitchen Scale $20 at Amazon
Thermometer

This may seem silly, but burning your coffee is easy to do. Please, for the love, don’t pour boiling water over your grounds. That’s just wrong.
This $10 Weber one has served us well, but be careful not to submerge it fully under the water.
As a bonus, it works as a meat thermometer too.
Weber 6492 Original Instant-Read Thermometer $10 at Amazon
A Burr Grinder
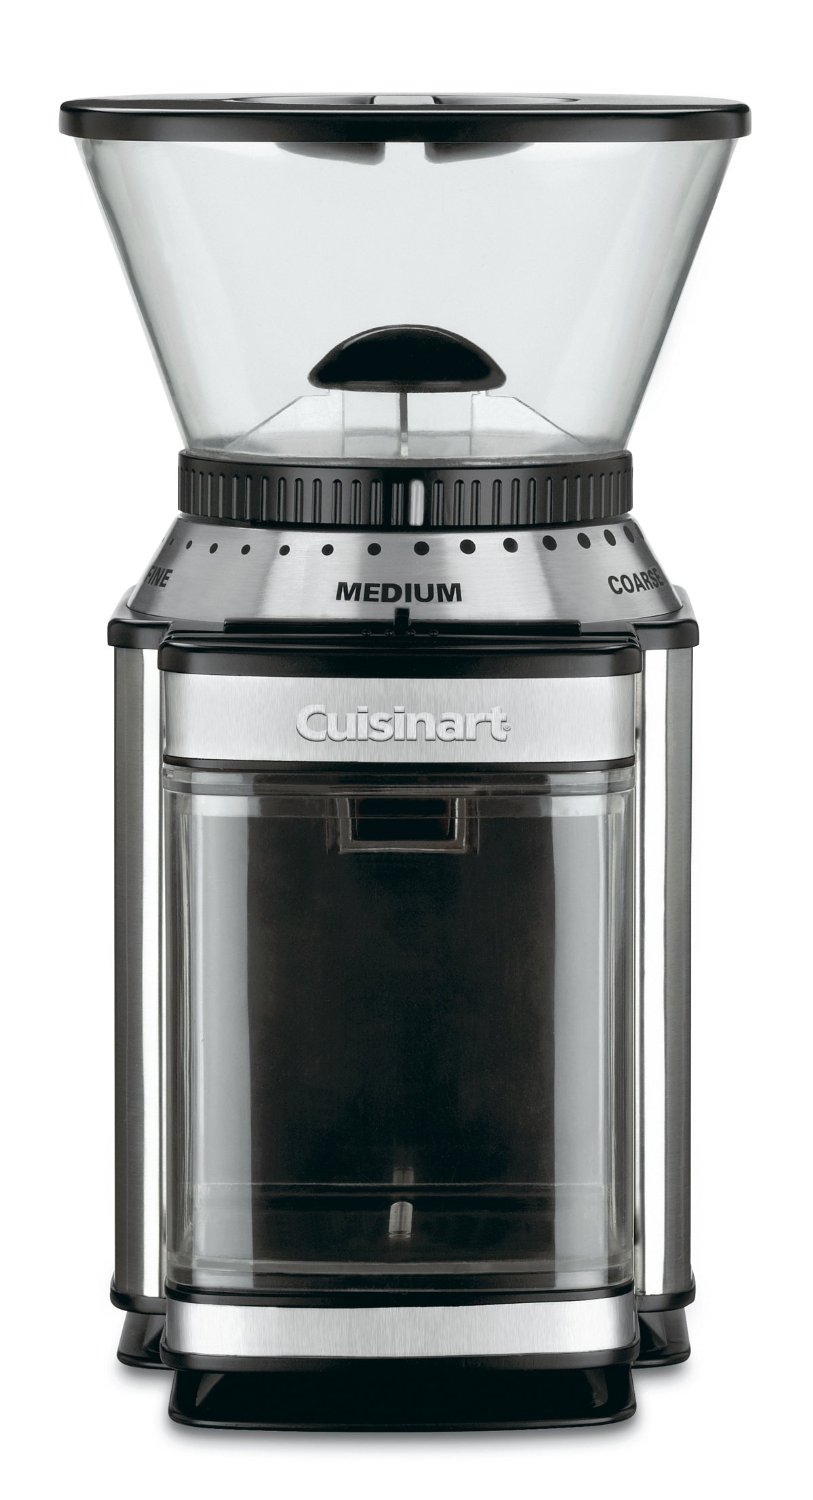
Fancy burr grinders can set you back hundreds. If you want to start with a more reasonably priced grinder and you’re not afraid to use a little elbow grease, this $22 Hario hand grinder will get you going.
We’ve been using this low-end[footnote]as far as burr grinders go[/footnote]Cuisinart Burr Grinder for years. It’s not good enough for a coffee shop or espresso, but for the Chemex you’ll be just fine.
Hario Coffee Mill (Hand Crank) $22 at Amazon
Cuisinart Burr Grinder $65 at Amazon
Gooseneck Kettle
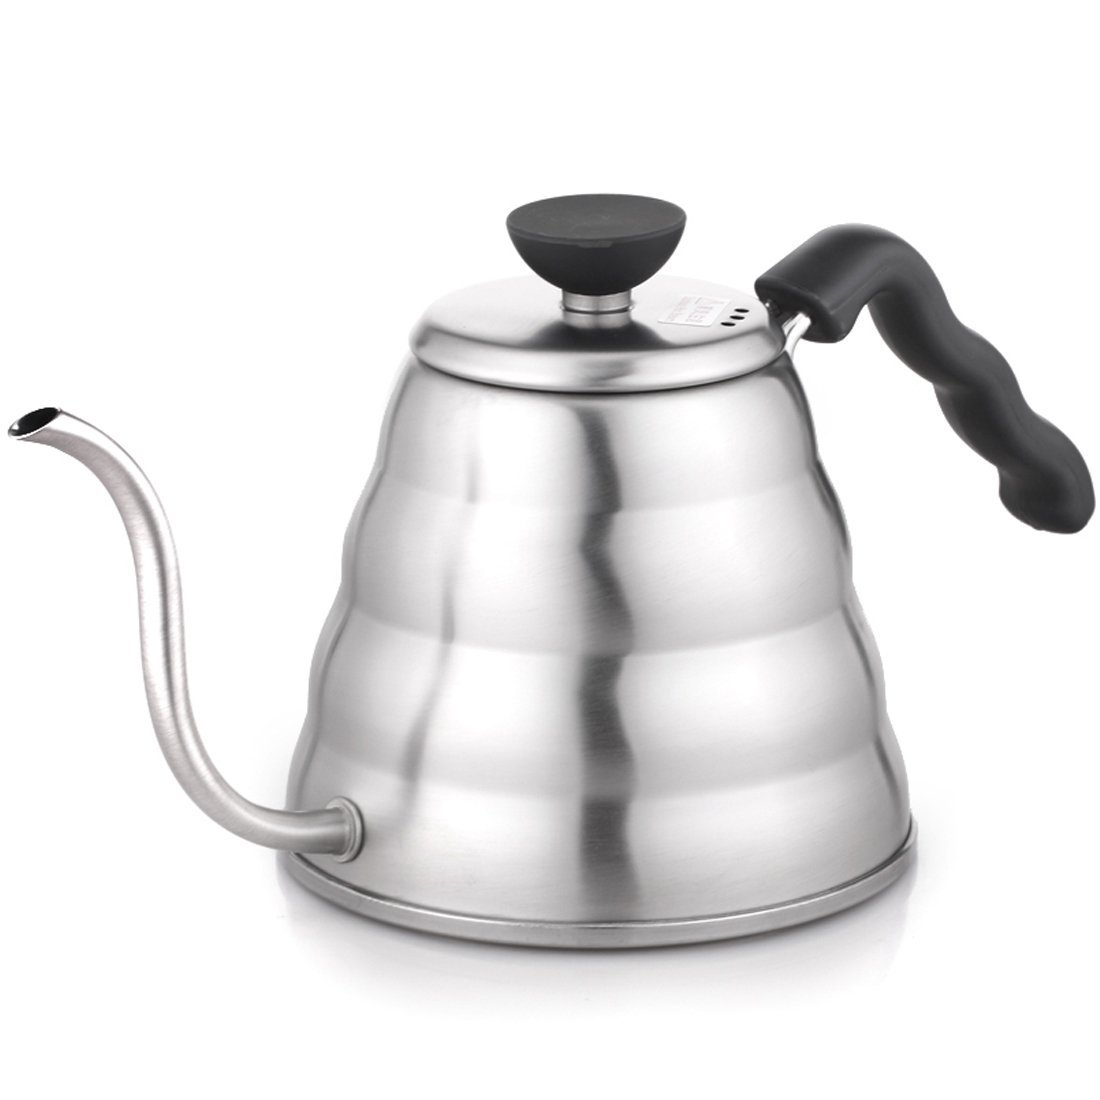
For just over $40 you can add the most unnecessary yet somehow life altering tool to your coffee crafting collection: a gooseneck kettle.
Most kettles have a normal spot and pour from the top, meaning you end up with about half of the water you brewed on the floor, counter, and your toes (if you brew barefoot).
The Gooseneck, like a gentleman and a scholar, has an appropriately named gooseneck spout that pushes the water from the bottom of the kettle so you can pour like a decent human being, not wasting a drop of your perfectly brewed water and being able to properly wet all of the grounds in your Chemex evenly and fairly, without discrimination.
Hario V60 Gooseneck Kettle for $42 at Amazon
Wrapping Up
It’s a big step forward to dive into a coffee apparatus that takes more time than a standard automatic coffee maker or, heaven forbid, a Keurig. But the Chemex process is a delightful one and your taste buds (and friends you share with) will undoubtedly thank you for it.
Barebones Chemex Equipment ($90)
- Chemex Bundle: 8-cup Classic Glass Coffeemaker and 100 Circle Filters for $69 at Amazon
- EatSmart Precision Pro Digital Kitchen Scale $20 at Amazon
All-In Chemex Equipment Setup ($206)
- Chemex Bundle: 8-cup Classic Glass Coffeemaker and 100 Circle Filters for $69 at Amazon
- EatSmart Precision Pro Digital Kitchen Scale $20 at Amazon
- Weber 6492 Original Instant-Read Thermometer $10 at Amazon
- Cuisinart Burr Grinder $65 at Amazon
- Hario V60 Gooseneck Kettle for $42 at Amazon
Simple Chemex Instructions and Recipe
20:1 ratio, water to coffee | 195° F brew temperature | 3 cups = 35 grams of coffee grounds and 700 grams of water
- Heat the water in (electric) kettle
- Measure whole beans on a scale
- Grind the beans coarsely
- Wet the filter and put in Chemex
- Add coarse coffee to Chemex
- Check temperature of water and begin adding when it hits 195° F
- Add water 150 – 200 grams at a time, using a ratio of 20 grams of water to 1 gram of coffee grounds
- Drink like a champion