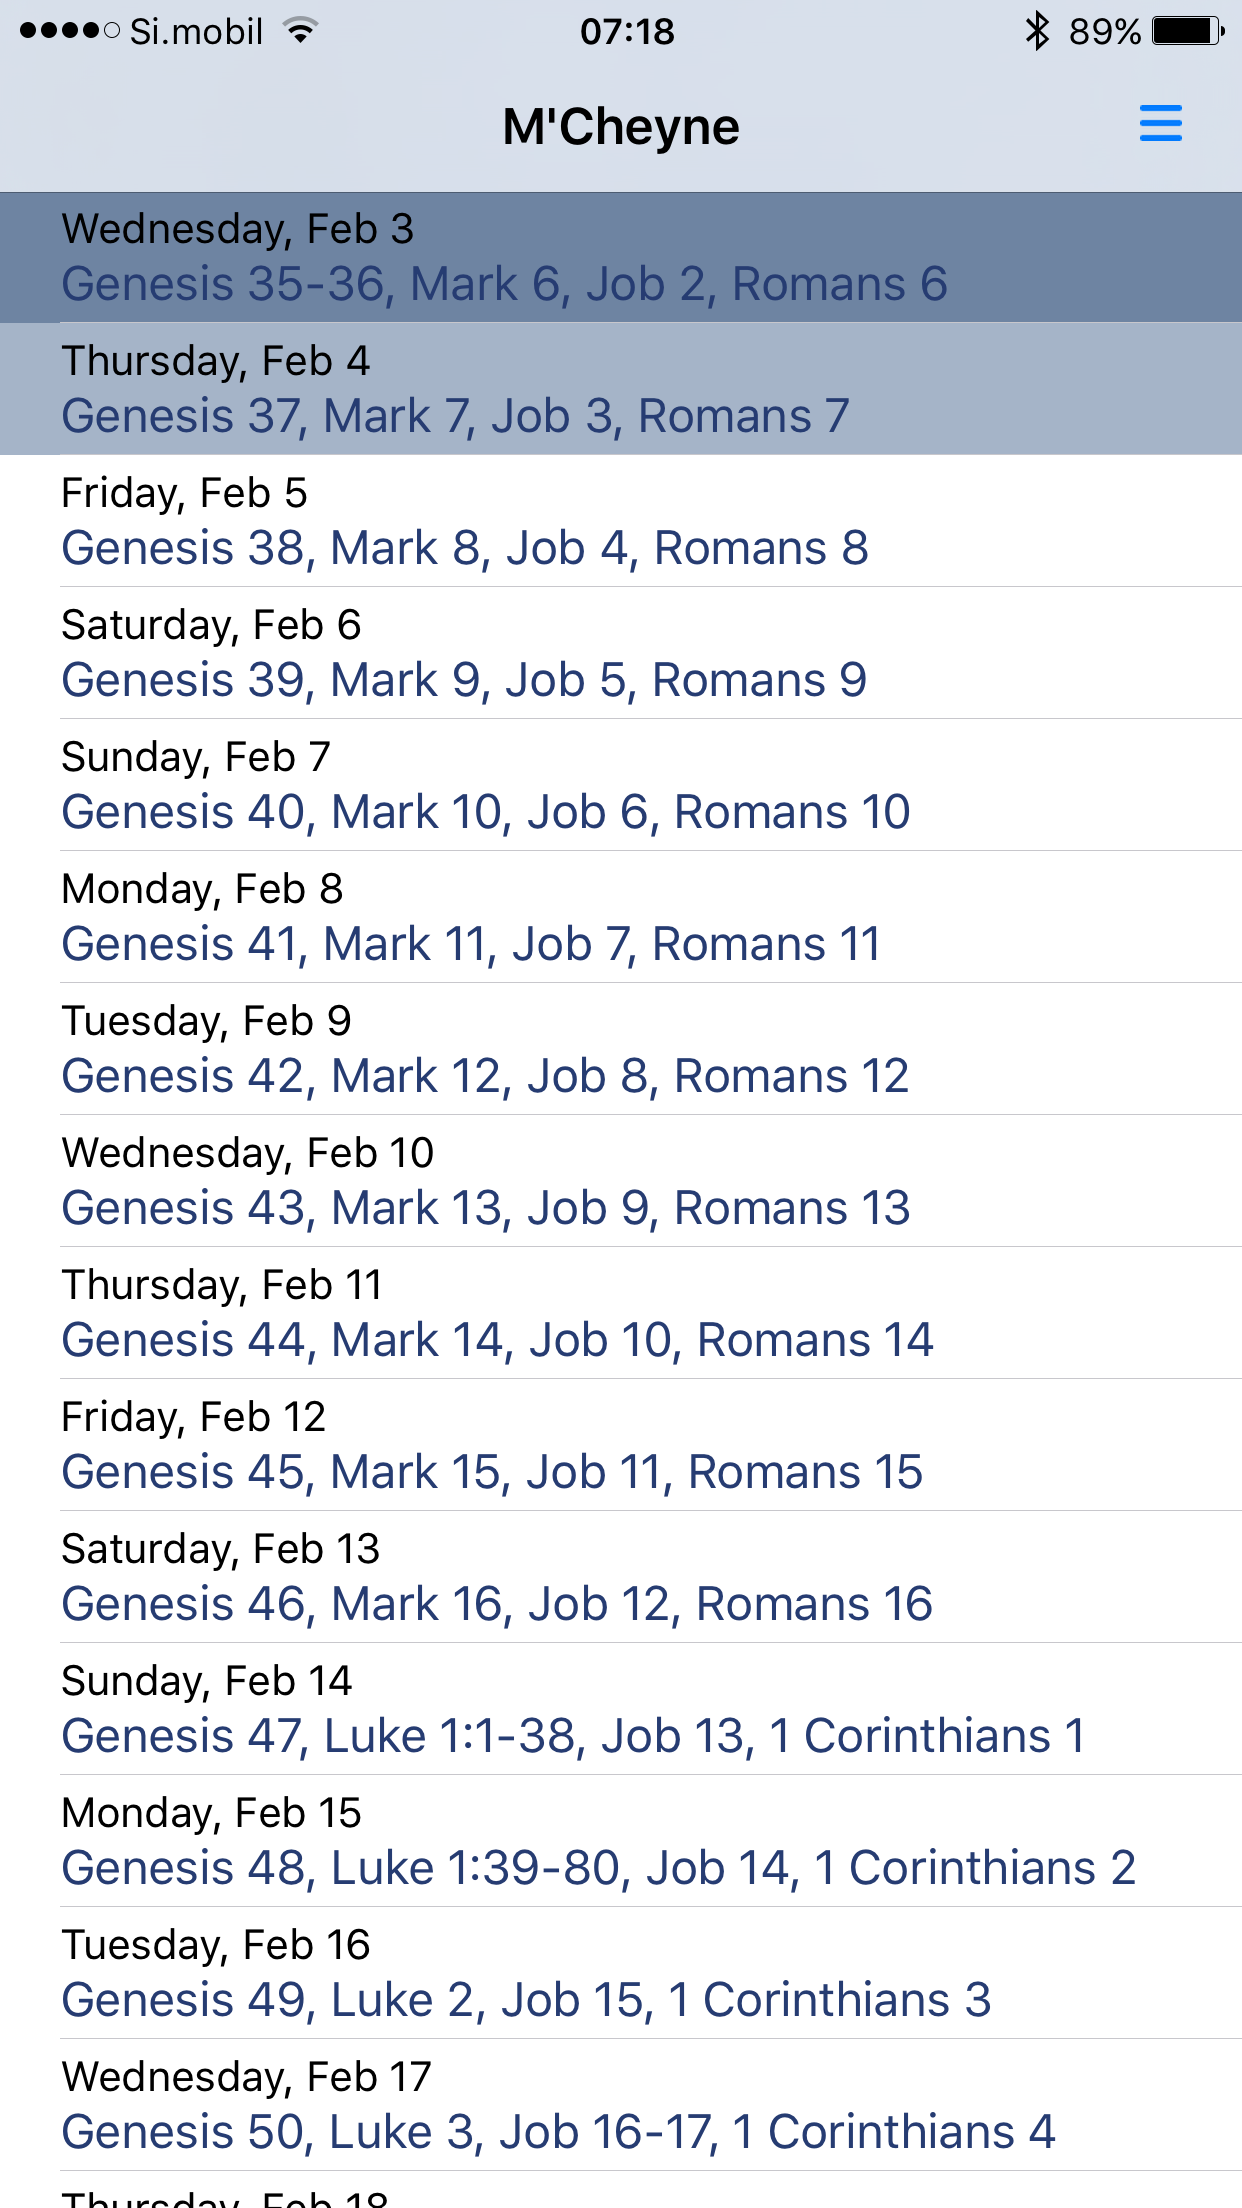
Maybe you started the year with a plan to read through the Bible. By now, maybe you’ve fallen behind or you’re contemplating giving up.
Here are a couple resources to make things just a tiny bit easier to follow through on one of the most worthwhile things you can do this year.
1 – Tracking a Reading Plan Across Your iOS Devices
Reading Plan is a free, simple app for starting a bible reading plan. You can customize:
- the plan you’re using
- when you started your plan
- which app the passage will open up in on your device
- alerts and reminders for reading

It’s not the prettiest app, but it gets the job done.
There are hundreds of plans available to download through the application.
My favorite features are:
- the ability to mark all days before today as read (great if you’re using the app to track a plan you already started or have been reading but forgot to mark it complete)
- auto scrolling to the last place you left off
The syncing across iOS devices isn’t speedy, but it works. I’ve used other trackers that have lost my progress and been a pain overall, but Reading Plan has been solid.
2 – Additional Ribbons for Marking Your Physical Bible
I’ve been using the M’Cheyne Bible reading plan for the last few years. It’s a 4-chapter per day plan, and each chapter is in a different part of the Bible. I love getting to spend time in different genres and sections of the Word, but it’s a hassle to always flip around in my paper Bible.
Fortunately, I have a smart friend named Big Al who googled “how to add extra ribbons to your bible” and made me an aftermarket ribbon marker and now my Bible looks like this.

Here’s what you need to make your own:
- a Bible with a binding (i. e. leather is ideal, but basically not a paperback)
- ribbon (3 colors, assuming your bible already has 1 ribbon)
- scotch / clear tape
- scissors
- a business card or piece of cardstock paper
- bonus: a lighter if you’re into fire
- Measure your ribbons against your Bible and make them at least 6 inches longer.
- Cut the business card to be about 2 inches tall and 1 inch wide.
- Tape the ribbons close together / overlapping and side by side, using about an inch worth of tape vertically for extra hold.
- Open your Bible and insert the card with ribbons in between the pages and the outer binding, at the spine of the book. You may need to trim your card to get it to fit. You’ll want it to be just smaller than the gap so it doesn’t slide too much.
- Stuff the card into that gap, pushing it down at least an inch or two
- Cut ribbons to length
- Use a lighter to burn the ends of the ribbons so they don’t fray. Use a wet rag to put out the flame if you don’t want to burn your fingers (don’t use the wet rag if you do want to burn your fingers).
Here’s a shot of the card sliding into the binding.

Anything I can do to reduce the friction of actually opening up my Bible is worth that effort.